UPDATE: Now on LEGO Ideas! Please support it if you love it!
Every LEGO photographer needs a LEGO book nook. It’s a compact photography set that displays discreetly and beautifully on your bookshelf that you can have ready for shooting at a moment’s notice.
I started my first book nook in January this year. I’m a bit obsessed with mini-worlds so when I saw somebody had crafted a book nook out of wood, I wanted to do something similar but with a medium I know: LEGO bricks.
As a photographer, I also wanted it to serve as a shooting set so I made mine minifigure scale.
Then I expanded the concept of a slim ready-to-shoot set by adding hinges so I could fully open it up into a wide background.
This book nook/photography set is a LEGO photographer’s dream.
A basic book nook
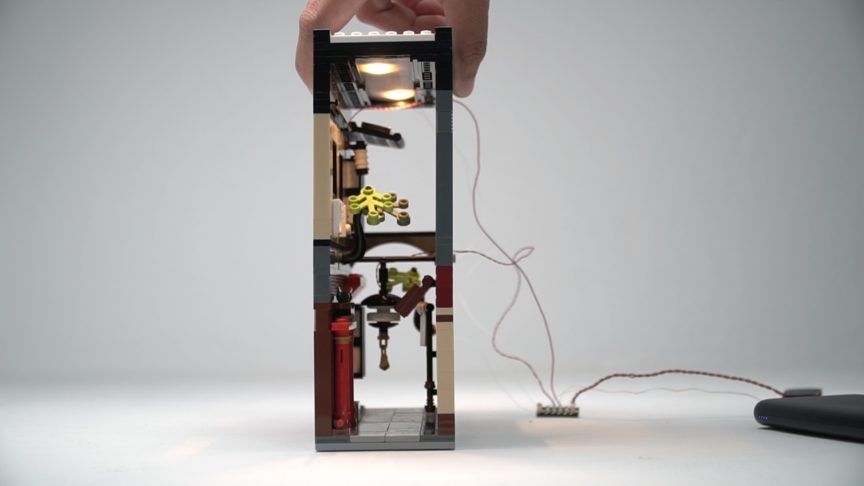
A LEGO book nook at its bare minimum is two side walls and a narrow base. Only the inner side of the walls needs to have any decoration. The outer side should be flat so it can slide in easily between books without snagging on anything.
Since the walls are only one stud deep and consist of simple brick stacking for the most part, they can easily collapse inward, so it’s ideal to build in some kind of support.
In the first version of my book nook, I had a rod span the space between the walls somewhere in the middle and an arch in the back to push the walls outward.
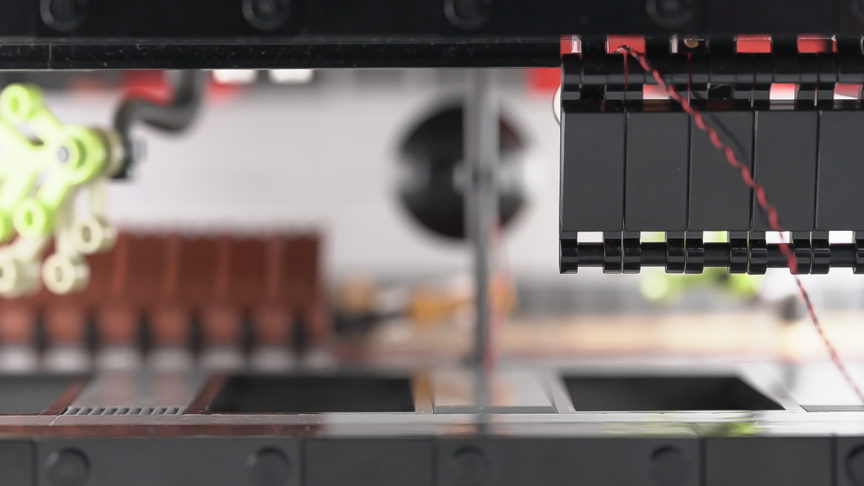
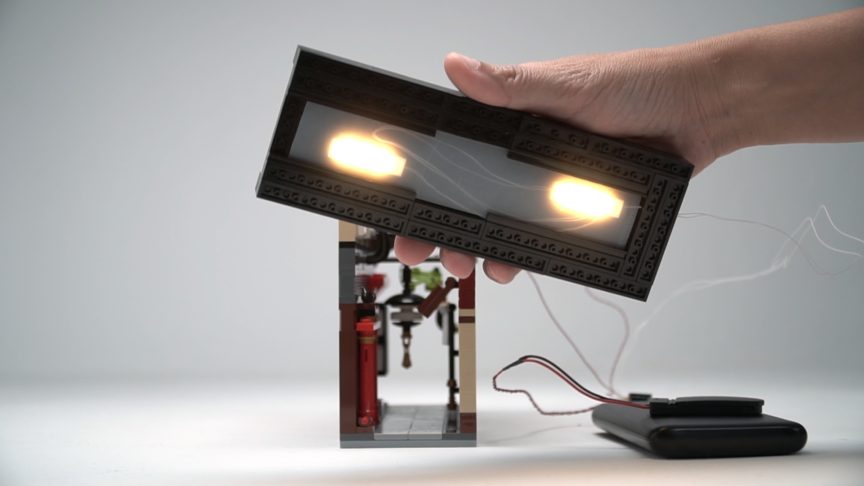
I also built a removable top which doubled as a place to hide lights for display.
Another option is to close off the back entirely for greater stability. But that would come at the cost of external lighting possibilities, scene variety and camera angles. You’d only be able to shoot from the front basically. Not ideal.
I like to light my book nook externally for photography so the front, back, and top are open and the walls of my book nook have plenty of windows and doors for light to pass through.
I mostly use the “street level” for my photos but I built two-storey structures so I can also shoot second floor scenes as well.
Folding book nook
After shooting in the basic book nook for a couple of weeks, I thought about modifying it so that I could open it up and place minifigs inside with more ease.
It is a pain to push a minifigure further inside a narrow build, especially if it’s posed to do anything but stand straight.
This is an issue that can be obviated by building wider — say, 12 studs wide — but then aesthetically, it doesn’t look much like a book nook at that size.
Another huge benefit is that I can have an entire background by just leaving it open.

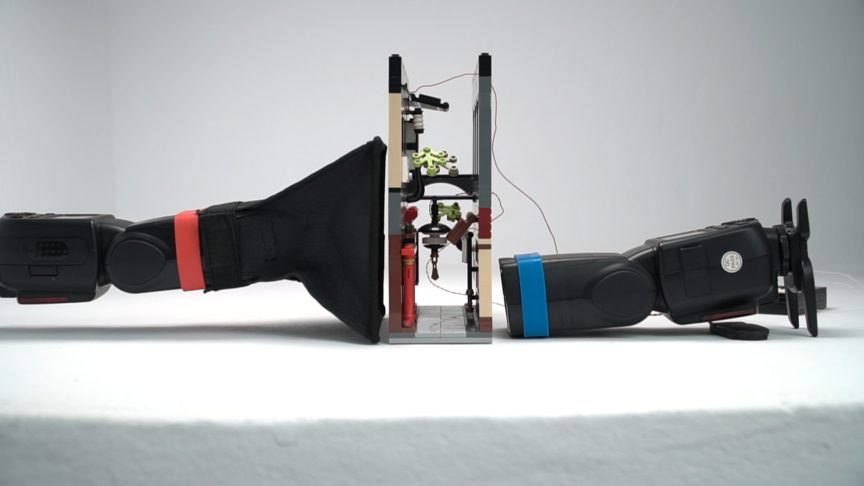
To modify the basic book nook, the first thing I had to do was change out the 8 stud wide plates I used as the base for two sets of 4 stud wide plates. Then I added hinges at one end.
I left a space for a 1×2 door rail plate in the front which holds both sides together when it’s closed and used as an alley. I use the same door rail plate to hold it open as a background.
This also meant some structural support changes inside: I had to get rid of the rod and the arch.
It’s a trade-off but not a huge one: my top is pretty thick and sturdy. It’s enough to keep the whole thing from caving inward in a bookshelf.
Here’s a tour of my book nook:
Shooting the book nook
When I want to use the book nook as a photography set, I slide it out of the bookshelf and take the top off so I can light the interior better with flashes or LED panels.

While I have a couple of strips of LED lights inside, those are just for display when the book nook is in the bookshelf. They are nowhere nice enough, bright enough, or versatile enough for my photography purposes.
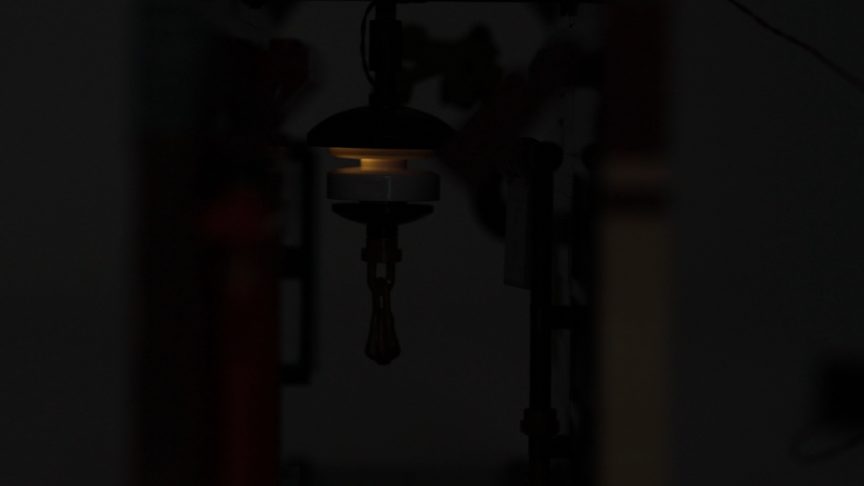
One of the features of my book nook are the brick-built Japanese lanterns that can light up. I always want to emphasize those in my photos so I use a slow shutter speed of 1-3 seconds so that the sensor can build up the light from them.
Since the back of my book nook is open, I use a black copy stand to block it off and drape fairy lights over it for some interest. I sometimes use a tablet with screen brightness at its lowest setting as a background. Super easy.
The lanterns, the fairy lights, the tablet screen: these are my ambient lights.
To light the rest of the book nook, I use flash, typically two to three of them. Flash doesn’t affect the exposure of the ambient light so it’s much easier to use that instead of a continuous light source like an LED panel.
An LED panel even at its lowest setting, isn’t lower than the intensity of the LEDs in the lanterns, so it would overpower them. Switching the LED on and off or using a strobe setting on them if it has it might work, but I haven’t tried it yet.
I put one light source on either side at different power levels to light up the doors and windows. I then use the third light from the back, front or top.
I tend to use modifiers on the third light like colored gels, snoots, or grids to control spill or give the scene a particular mood.
I’ve detailed the entire BTS in this video:
Prolific shooting
One thing that I found when shooting the LEGO book nook is that it has made me much more productive with photos.


I tend to shoot more in it because it’s ready in a second. Also, because I have collected so many Asian-themed minifigs that I now have a setting for them to shoot in.
You might think that shooting in one narrow space can get boring but so far, I have used the book nook to challenge myself to try angles, techniques, lighting, gear, and effects that I don’t use as often.
Besides, I have also struggled with staying on a single theme, preferring to shoot one-offs. The book nook has helped me stay focused and I find that I rather enjoy creating a series now.
The book nook challenge
Go pick up some bricks and create a LEGO book nook with a theme you love and get shooting!
If you’re the type that struggles with building, have a look at sets like the Dorado Showdown 75972. All you need is the facade of a building to start building a book nook.

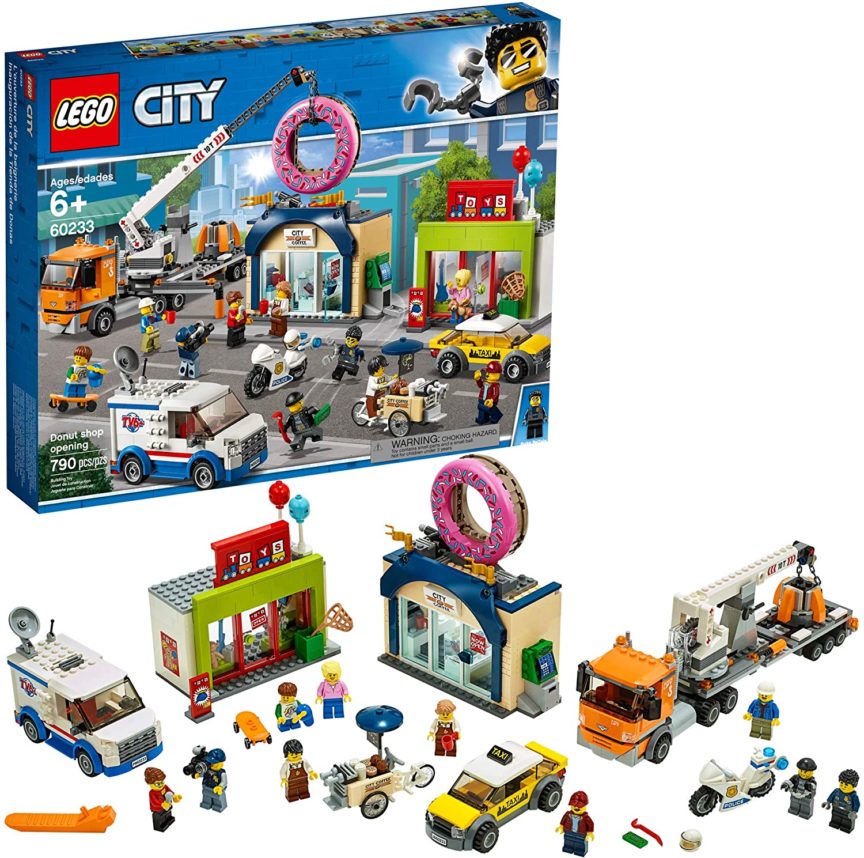
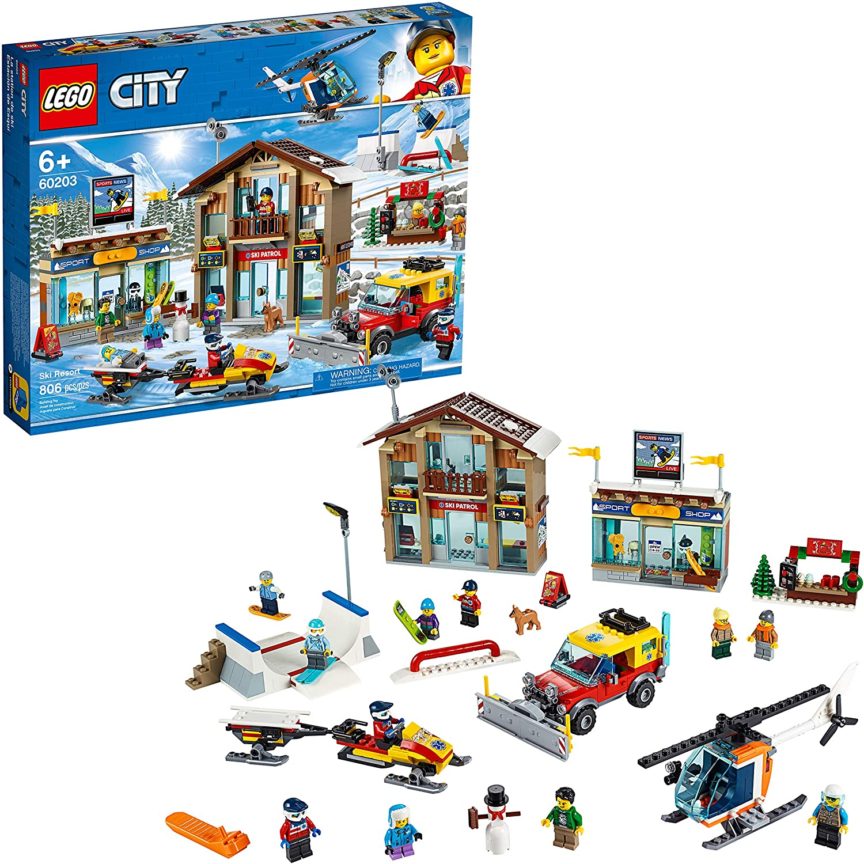
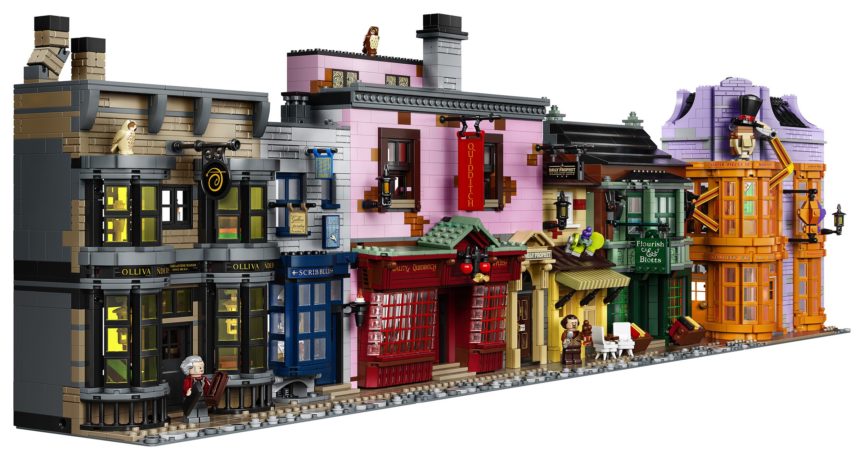
Other sets like Donut Shop Opening 60233, Ski Resort 60203, and the prohibitively expensive Diagon Alley 75978 — it’s already half an alley! — can serve as inspiration for or be rebuilt into a book nook.
If you do build a LEGO book nook, and I highly recommend you do, take a photo of it in your bookshelf and send it to me on Instagram, Discord, Twitter or wherever you may find me (@fourbrickstall everywhere) and I will feature my favorites!
This is a rear idea, can’t wait to start making one of my own now, if only I actually had books! Actually think that it would still work as a DVD or blue-ray player for boxes as they are roughly the same size as a book & I have a lot of CD’s, DVD & Blueray etc.
I am so inspired by the potential of the nook & would be able to get some awesome pictures around this part of the design.
Will definitely be supporting & all the best!!
Kyzmonkey!