When news first hit Reddit about a new LEGO set that was exclusive to US megastore Target, I scratched my head and wondered why anyone would drop $20 for “Bean There, Donut That”, a simple build with rather dull minifigures and unremarkable accessories. I also wondered why the set had a barista since clearly, it’s a self-serve coffee stand with that customer-facing coffee machine.
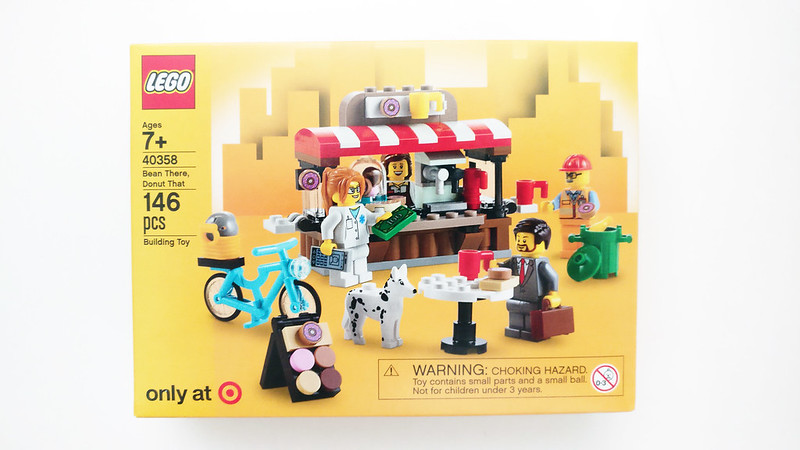
Curious about the hype, but unwilling to part with my money, I had a look at Allen Tran’s photostream on Flickr to see if I could suss out the parts for the build and if I had them in my kid’s LEGO storage bins. Thanks to all the gifts of CITY fire and police sets over the years, I had all the red and white car bumpers I needed to build the “Bean There, Donut That” coffee stand.
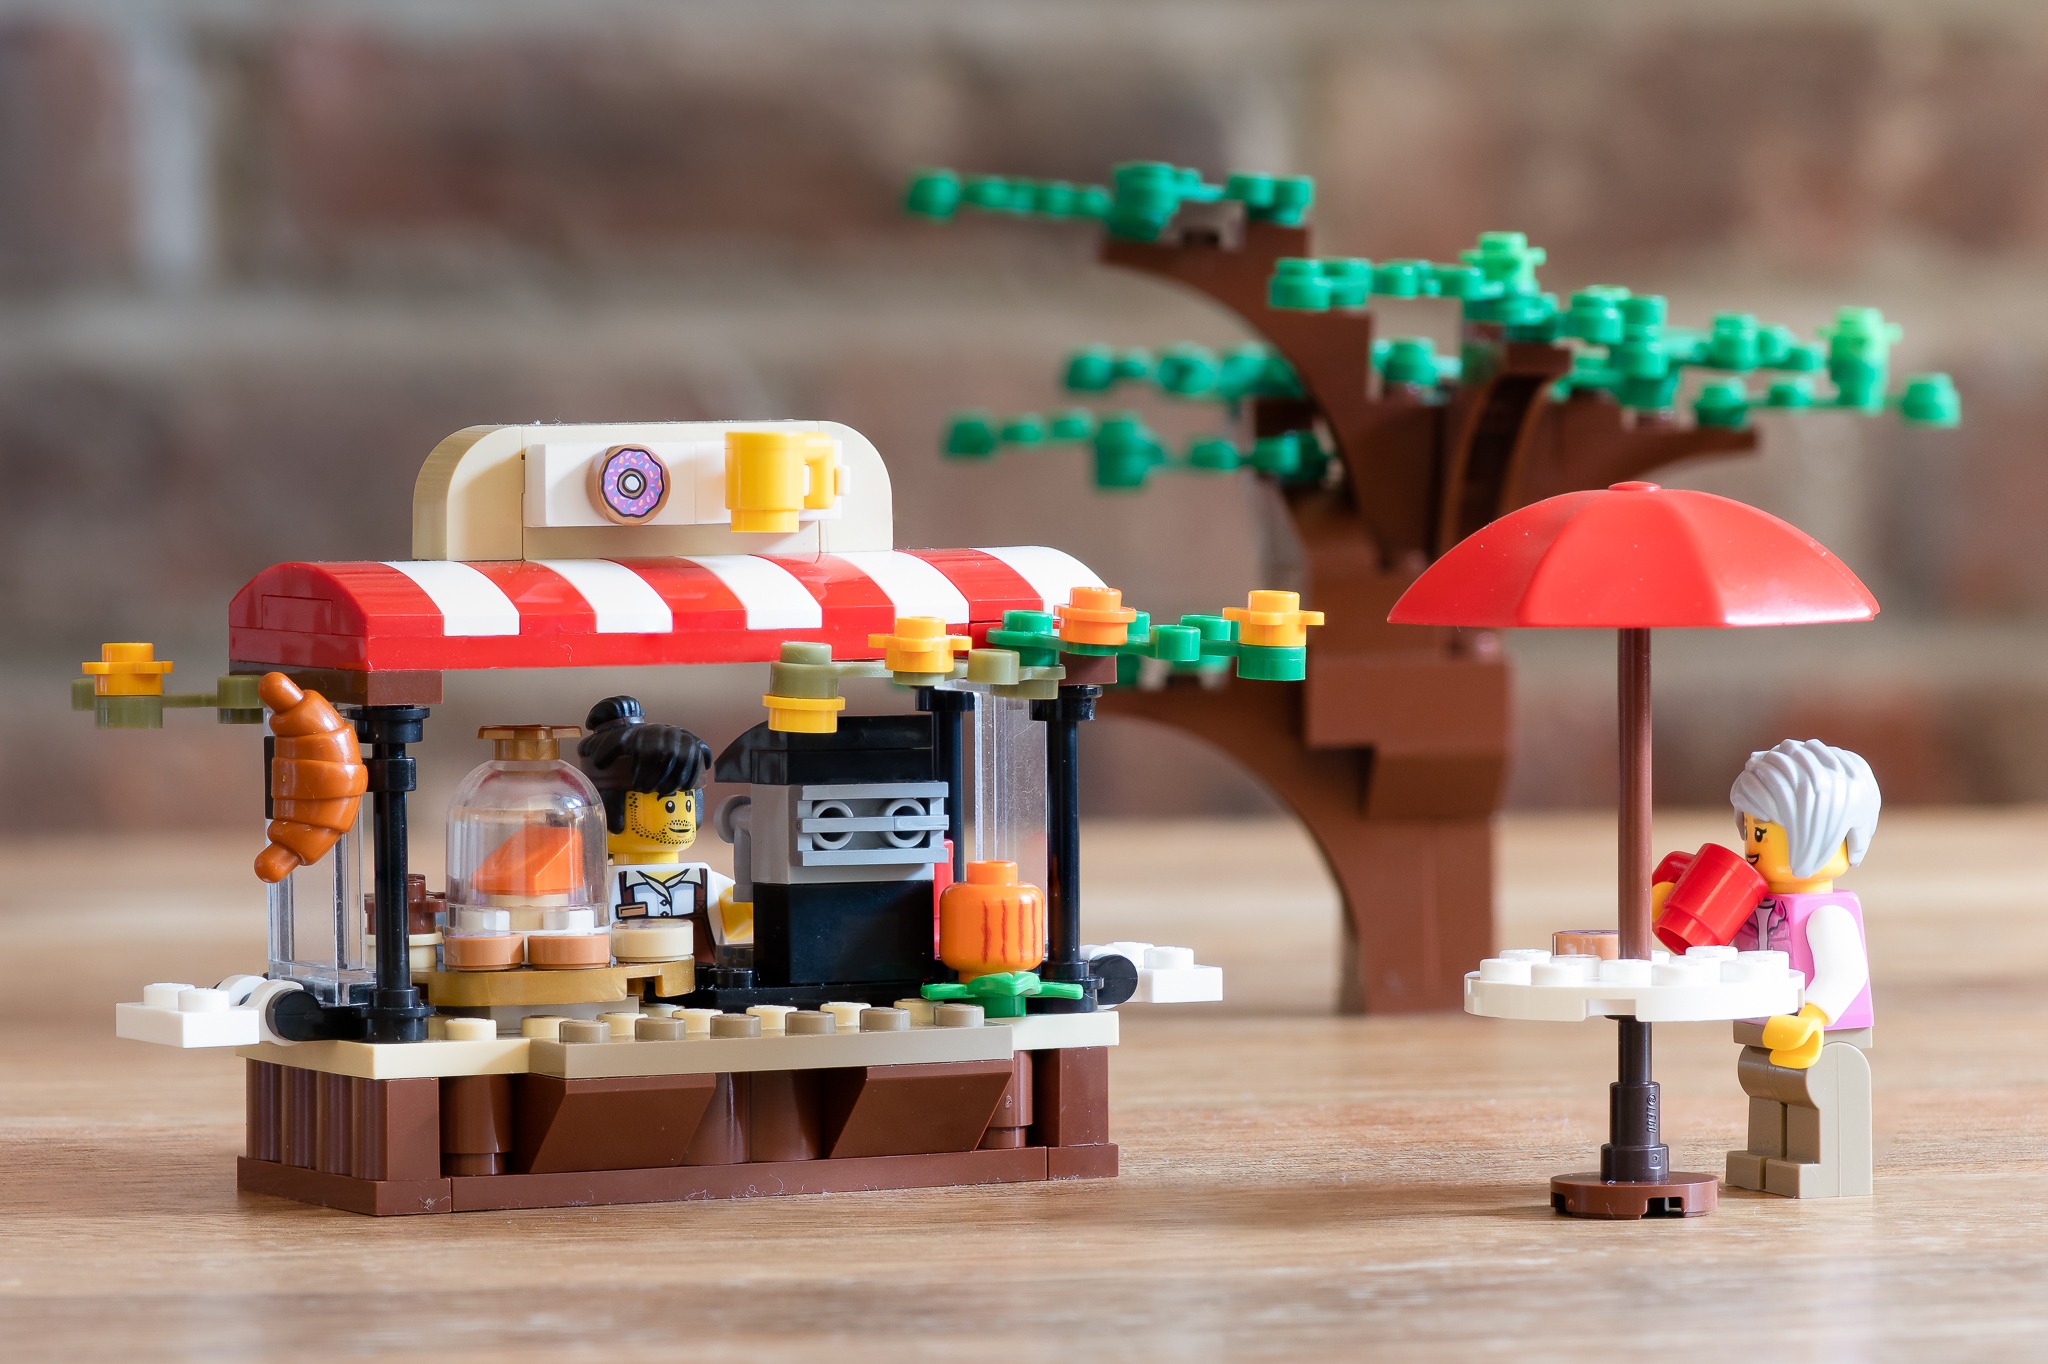
I wanted to (pumpkin) spice the coffee stand up a bit to reflect the season, it being October, so I gave it a fall makeover. While I was at it, I also made a handful of other tweaks to make this build more interesting.
In this post, I’ll describe some of the changes I made to the coffee stand and link to the parts needed for both the original and my modified builds in case you don’t have a Target in your area or like me, don’t think it’s worth $20.
Changes to the build
First things first, I needed to right that wrong: I rotated the coffee machine so that its back was facing the customers. That nonsense was just driving me crazy. However, the original build used two gray headlights to mount the spigots which exposed the ugly square holes on the reverse side. To fix that, I used a 1×2 brick with studs on both sides and attached a gray grill to the back of the coffee machine to make it more attractive.
The height of the coffee stand is a bit taller than the original build because the windows I had on hand were taller. This additional clearance makes it possible to add the fall leaves to the underside without crowding the coffee stand too much.
Apart from the leaves, I added autumnal details like a pumpkin by the coffee machine and a slice of pumpkin pie in the cake display instead of donuts. The pumpkin is just a jack-o-lantern with its back printing showing. Also, I didn’t have enough cookies and donuts so I built some cupcakes with those swirly tops and petalled studs.
I decided to use my one and only white round plate for the umbrella stand pictured in the first photo, so the cake display has a pearl gold lazy susan instead. That’s the only other color that I had the piece in but it complemented the coffee stand wonderfully. I really like how the gold enhances the colors of fall. The matching star-shaped pearl gold handle completes the cake display. That was serendipity… and possible because of the taller clearance provided by the windows.

With the coffee machine turned around, the back of the coffee stand now looks more like the area for a barista to be in. I upgraded it with some drawers underneath the countertop and a little shelf for milk. The shelf is a door rail for sliding doors.

Now the coffee stand can be photographed from more angles, giving minifig photographers more storytelling possibilities.


Just one minifig
I really dislike generic minifigs and would much rather have one or two good minifigs in these cheaper sets. I especially do not need any more construction workers taking up space in my bins.
For the barista, I used the hair piece from Cole, one of the NINJAGO characters, because I imagine baristas to be the man bun-wearing types. This one in particular was from an activity book I bought for my son. The brown headband in the hair matches quite nicely with the apron too!
The head was from the baby-wearing dad in the Outdoor Adventures and the rolled-up sleeves were from the Yuppie. I generally like using these sleeves on minifigs who are working with their hands.

Parts lists and instructions
Shortly after I built this coffee stand, somebody posted a stop-motion video of the build to YouTube which serves as instructions (although you could just figure it out on your own).
These are the parts you’ll need with the item numbers and quantities:
(If you find something’s missing or not right, please let me know so I can update this list.)
You can find the parts on BrickLink from sellers anywhere in the world or try to get them from LEGO’s Bricks and Pieces section on their website which has service limited to select countries.
What do you think? Is this exclusive set worth $20?
love it, how did you attach the leaves in front & back
thank you