When the Toy Photographers launched their contest about nostalgia, one of my first thoughts was of the video arcade I used to go to when I was a kid.
A good part of that childhood was spent in dimly lit video arcades. They were a cheap babysitter for a lot of parents in my area, a safe residential community in California. My mom would drop us off at the mall with a bunch of quarters and my brothers and I would head straight for the crowd around Dragon’s Lair.
It was the most popular game in the early 80′s; the bottom right corner of the screen bezel always had a coin line – a neat row of quarters put there as placeholders by the next players in line.
You were simultaneously cheering for the current player to get further than anyone else before and wishing for their quick demise so you could get your game on. Such confusion but good times!
The set-up
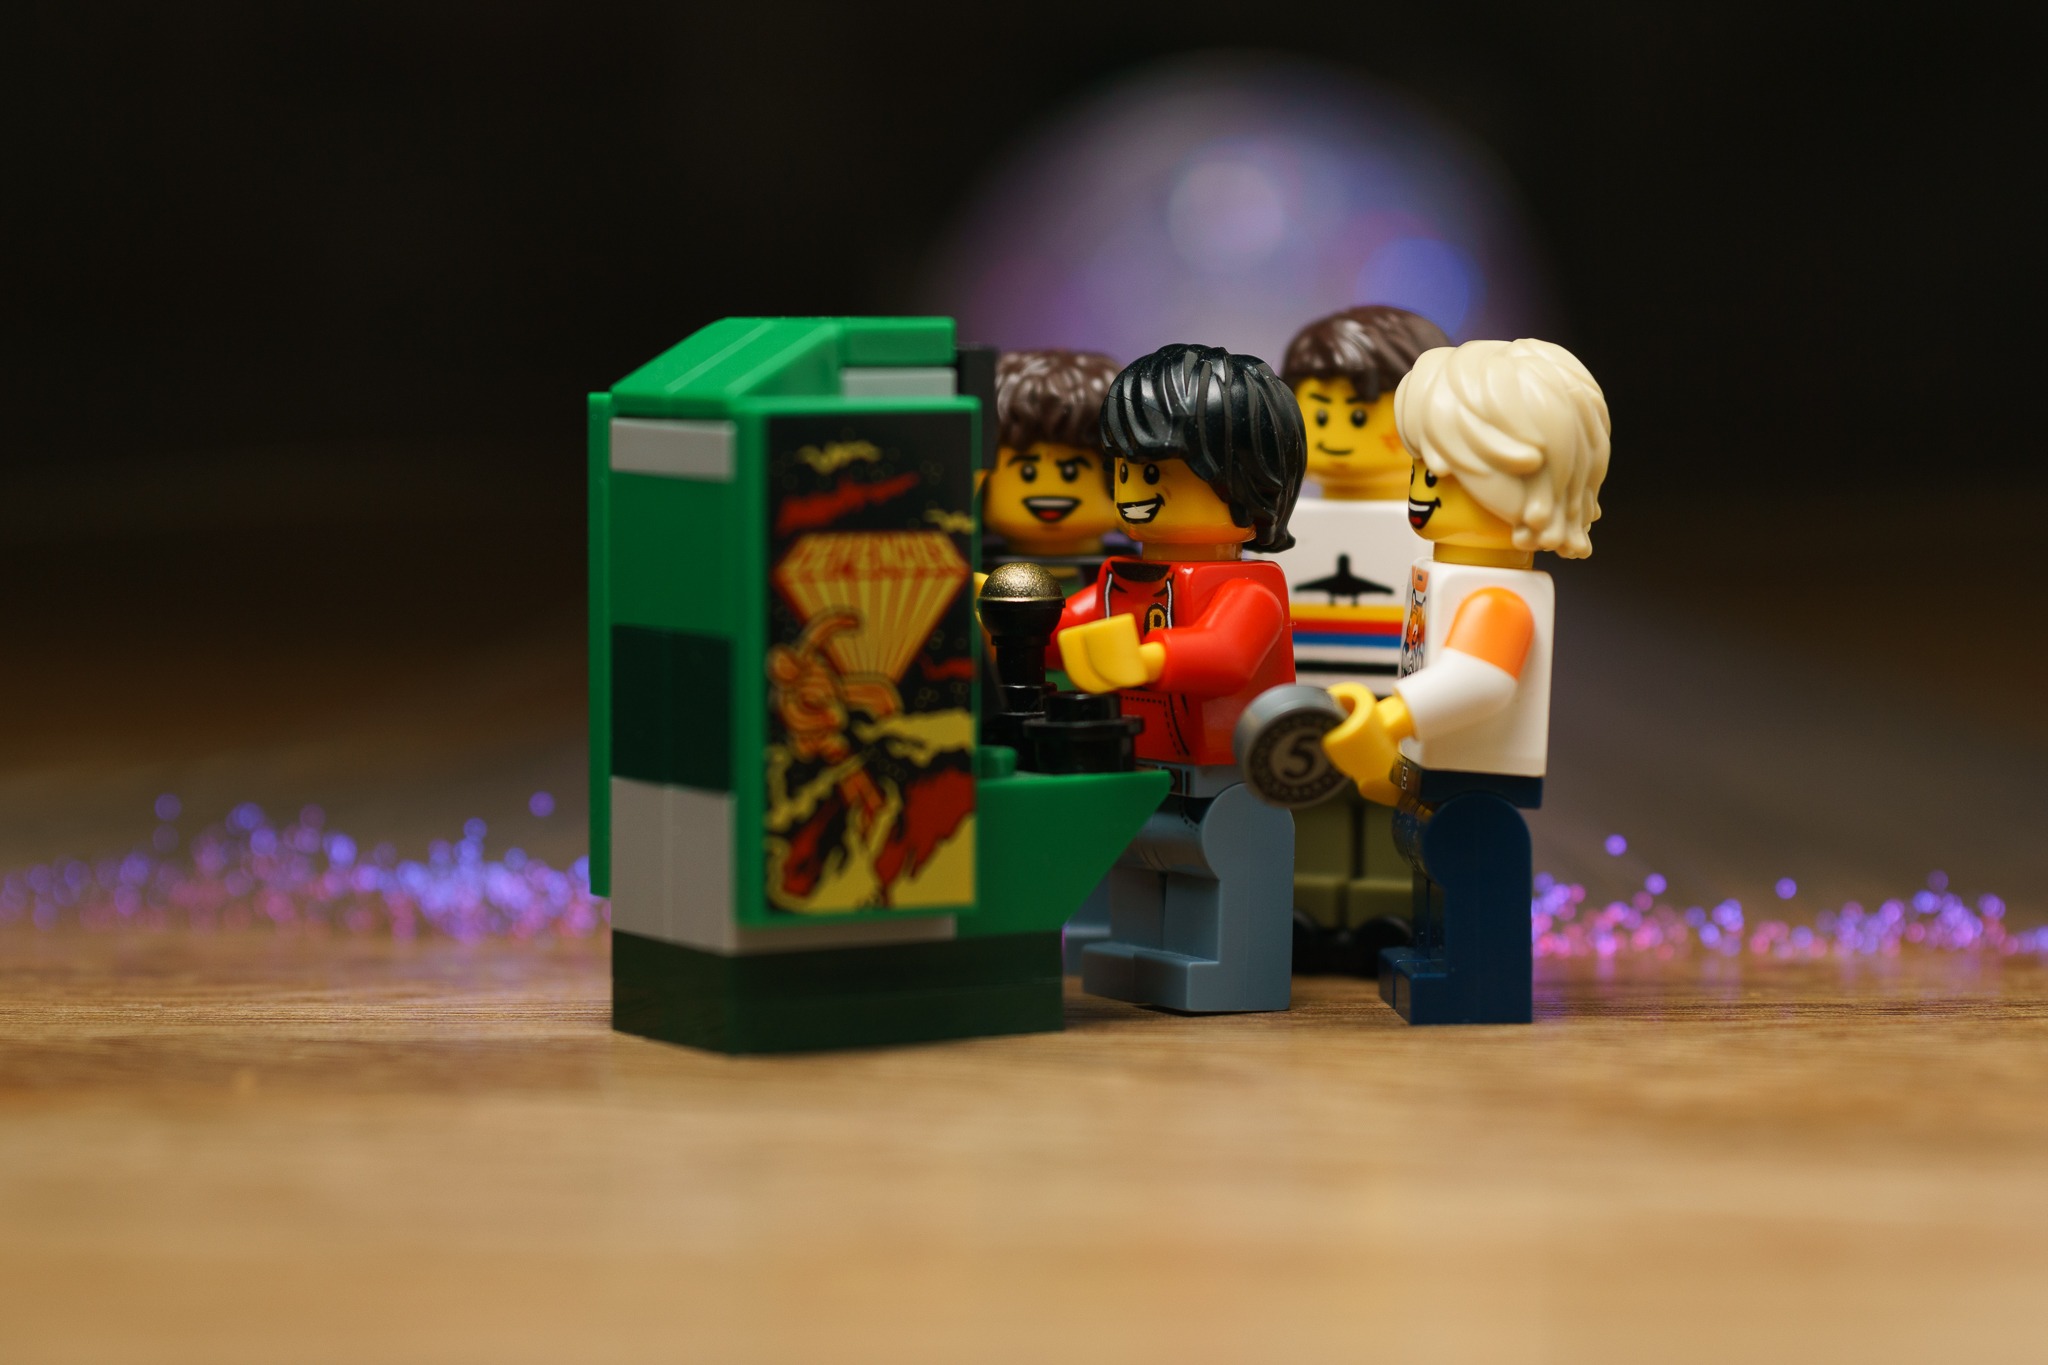
Recreating that memory in LEGO was pretty easy: I already had a mini build of the Defender video game from the Midway Arcade level pack for LEGO Dimensions just sitting there on a shelf so that was a no-brainer.

For the minifigs, I switched out the torso and legs of the Gamer Kid that came with the pack for a custom designed Robin hoodie torso by FireStar Toys and jeans that I created by carefully scrubbing out elements of an original LEGO part. (I like creating new minifigs. It frees me from having to stick to LEGO canon.)

I then used Gamer Kid’s body with Michael Knight hair (from the Knight Rider fun pack, more 80’s fixation by LEGO Dimensions) for the left-most character in the background. He’s one of those players who are always telling other players what they’re doing wrong.
The other minifigs in the scene have the most retro-looking torsos I own: a tiger mascot print from some old racing set, I think, and the airplane print. I simply switched out arms with other torsos to create a new look. The white short-sleeved arms are from Homer and I think the orange and white arms are from The Joker. The custom printed jeans are also from FireStar Toys.
One of the kids has a token in his hand because he’s got next. That piece also came with the aforementioned Midway Arcade level pack.
Lights and lighting
Anytime I want a colorful light effect, I reach for the $5 retro lamp I bought for my son. I normally use it to create bokeh but for this scene, I wanted the lit tips touching the surface to create some fun video arcade flooring, and the base of the lamp to cast colors in the background for some depth.

To the left, I feathered a small flash in a round diffuser and put a small white reflector opposite that to bounce some light back into the minifigs. “Feather” here just means I’m using the edge of the diffused light source so as not to spill light onto the background. See how the flash is angled away from the minifigs instead of aiming it directly at them?
All of that setting up made me tired though so instead of going downstairs to get my Minolta 100 2.8 macro lens so I could fill the frame, I shot with the lens I already had on: a Sigma 60 2.8. It’s great, I love it, but I knew I’d have to crop in post. Below is the uncropped photo.
Because of the feathered light, most of the light is on the surface in front of the minifigs instead while the back is much darker. If I had planned on shooting this scene this wide, I would have added a flag – blocked the light with something black – to prevent it from spilling onto the foreground. But I already previsualized this scene framed much tighter so I the foreground wasn’t going to end up in the final photo anyway.
Post processing
After cropping for the composition I had in my mind, I just made adjustments as needed in Lightroom: brightened faces, toned down highlights, opened up shadows, etc.
I liked what I had with those basic adjustments but then I thought that the video game screen should be glowing, casting some of that light into the player’s face and torso. A jaunt to Photoshop for that effect and back again to export the final photo and there you have it.
If you have questions about this BTS, send them my way!